I love quilling leaves and grass and seaweed. And for that I’m never without my quilling comb.
It’s a trusty little tool that can give you so many different effects.

The materials you will need are :
Quilling strips - I’ve used 5mm precut strips in two shades of green.
Clear drying PVA glue
Quilling comb.
To begin with, join one strip of each of the two shades of green to form one long length of paper.
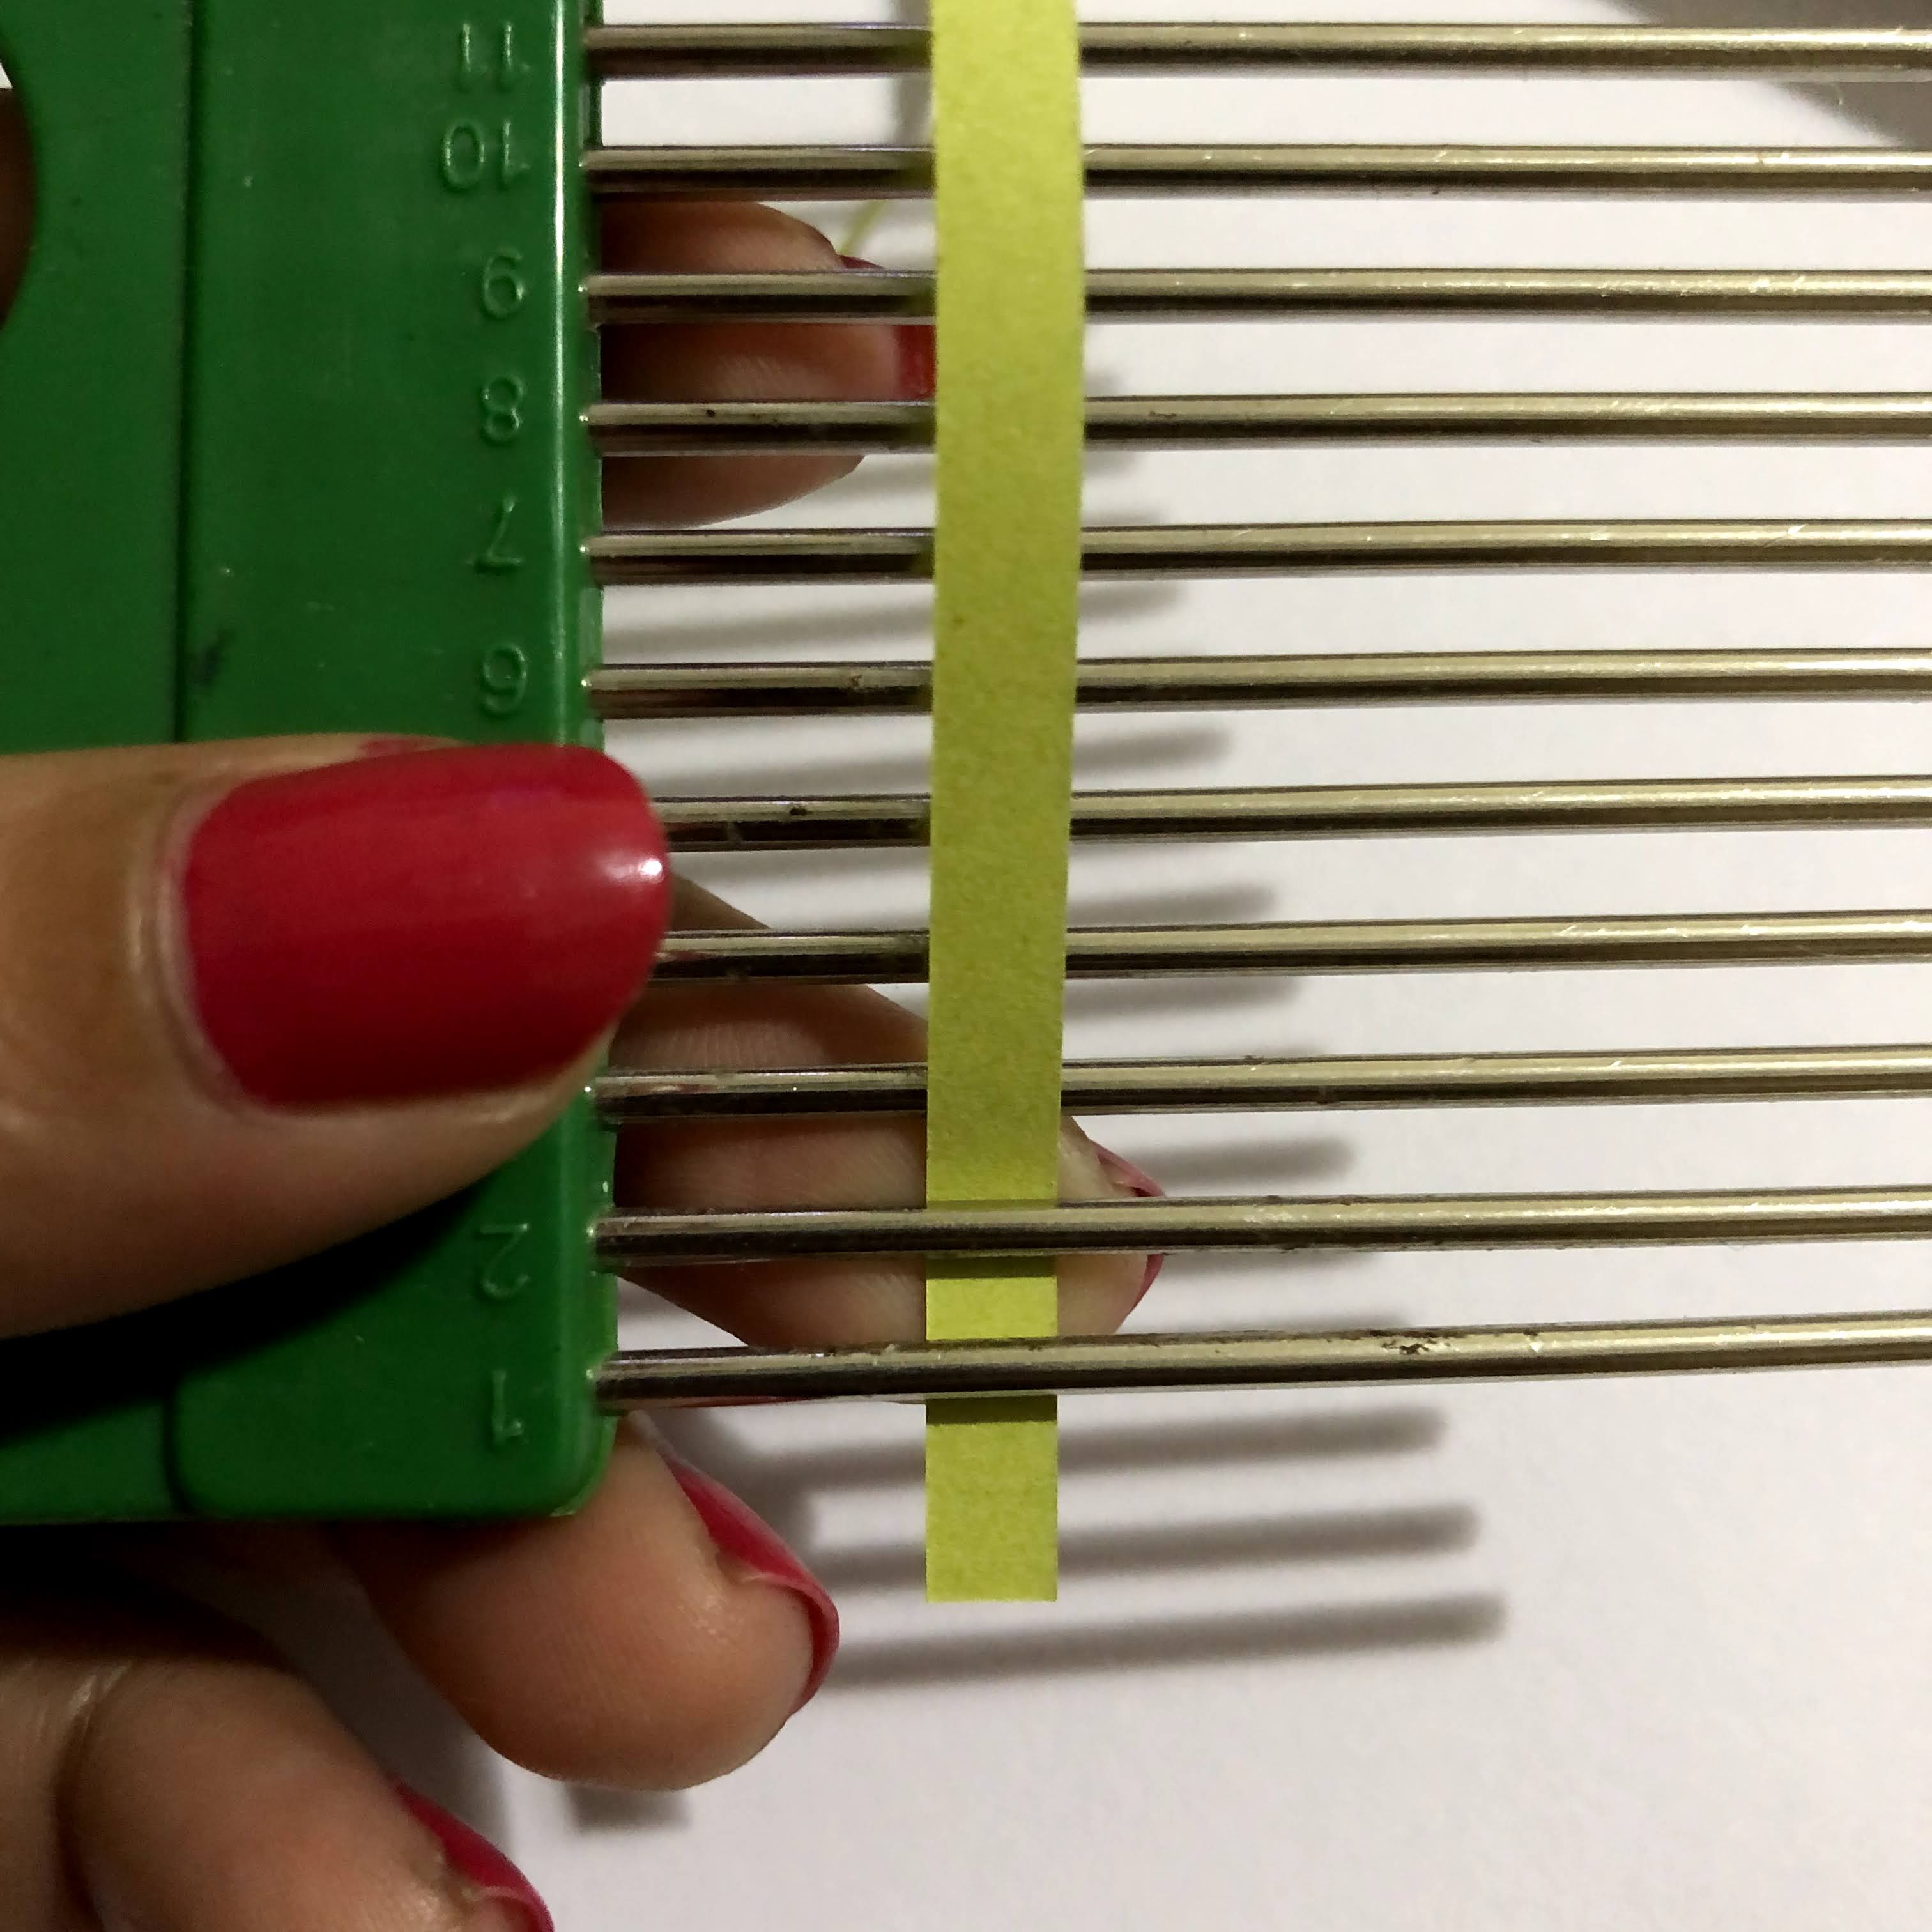
Insert the strip through tooth 2 of the comb and leave a short end at the bottom.
(The hanging end should not exceed tooth 2 of the comb.)

Fold the little hanging end upward and apply a dab of glue

Bring down the top end so that it sticks exactly over the little flap.
Hold for a few seconds to make sure it’s firmly stuck.
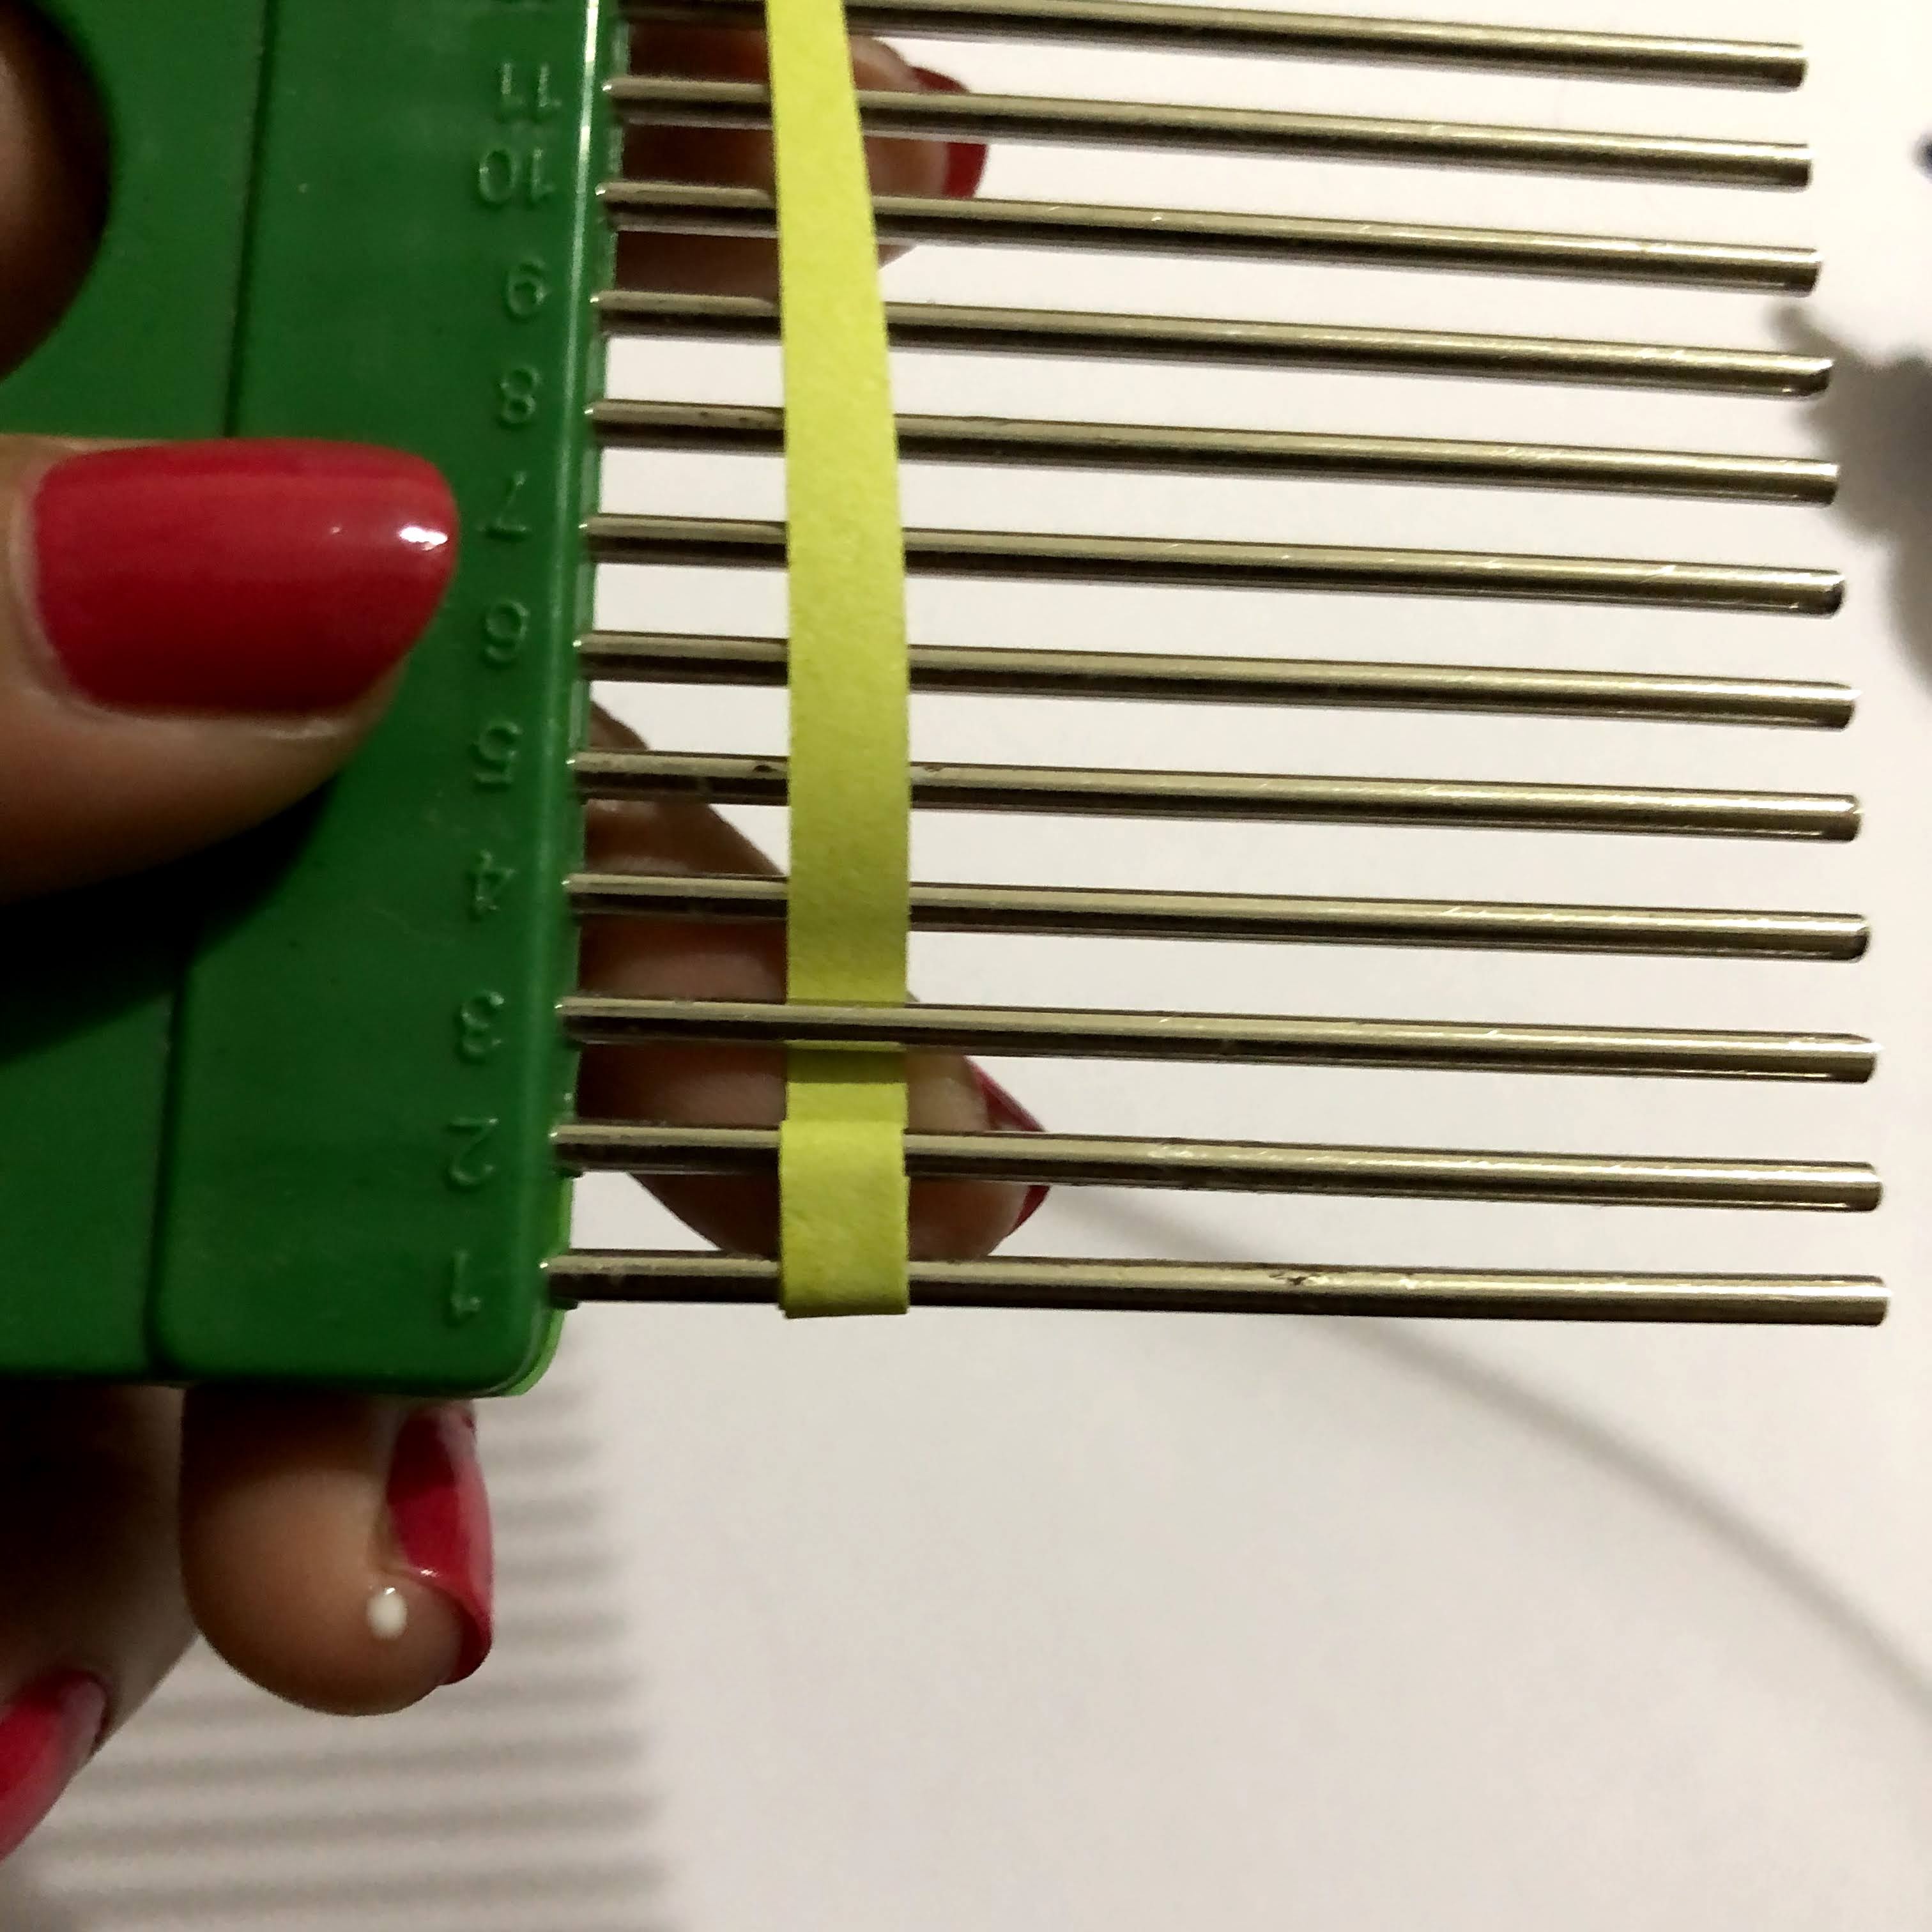
Bring the lead strip out through tooth 3

Add a dab of glue at the base of the quill forming and continue to roll over and through each tooth of the comb.

You will slowly start to see your leaf grow.

Continue all the way to the end and stick it down. Wait a few seconds, then gently slide it off the comb teeth.

Make sure it all comes off in one smooth motion.

Your quill is now ready to be shaped.

Starting at the base, pinch it firmly and slowly move upward. Here is where you can add bends and shape to the grass or weeds it will form.

I hope you enjoyed my instructions and had an enjoyable time quilling with me.
Comments
Post a Comment