
I love Distress inks. They are my new joy. I've recently invested in a few Tim Holtz Ranger inks and I can't wait to add some more to my collection.
In today's tutorial I'm going to show you a simple yet beautifully effective card you can make using these wonderful inks and a stencil.
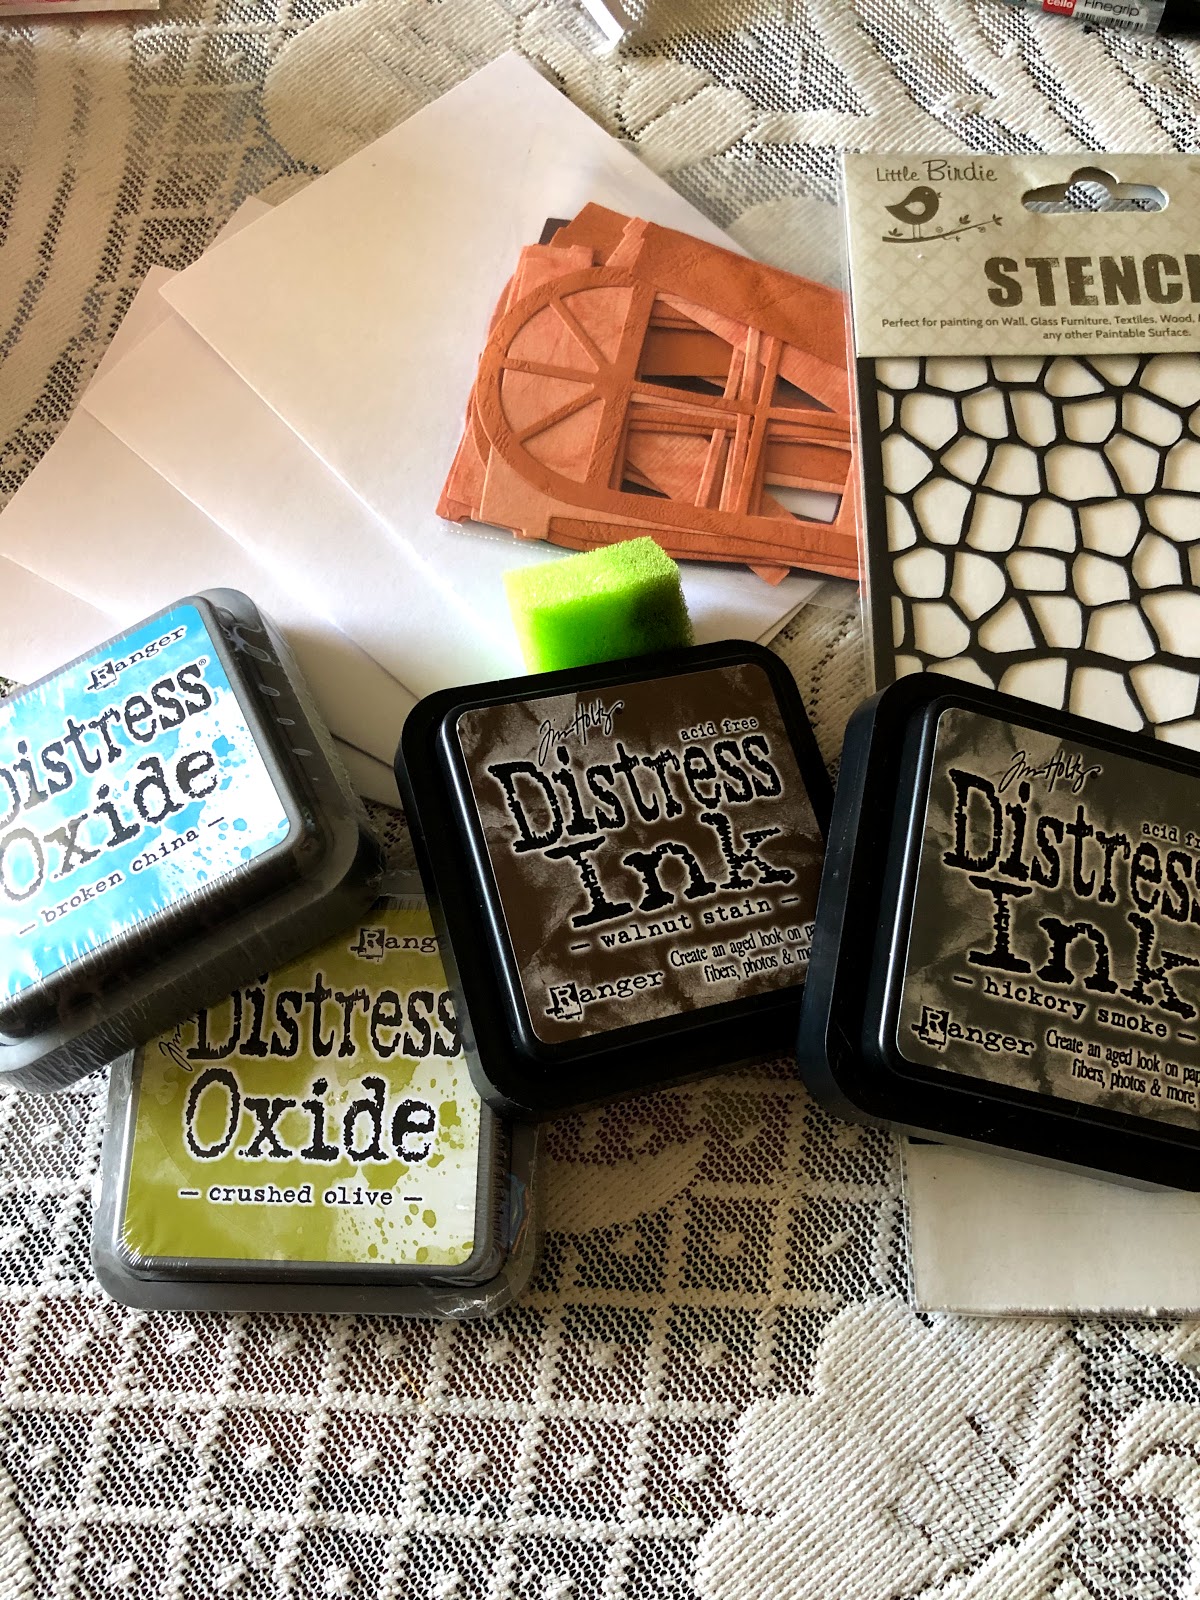
Materials I used:
* White card
* Die cut window
* Paper doily
*Distress Ink
* Sponge
*Stone stencil

The look I was going for with this card is a window box in an old stone cottage so I placed the curtain in the window and stuck that onto my card.
I used a piece of the white paper doily for the lace effect of the curtain in the window.

Next, I got my stencil ready.
TIP: I gently wipe it down on both sides with a soft damp cloth just in case there is any remnant of the previous ink used. I also do this after I'm done with my stencil... but one can't be too careful - especially when you switch between light and dark colours.

For this particular project I'm using Tim Holtz Ranger Distress Ink in 'Walnut Stain'.


Using your piece of sponge, dab it a few times on the ink pad and with soft circular motions go over the stencil. Make sure you hold down the stencil in place without any movement.
TIP: You can put a little scotch tape or Washi tape in the corners to hold down the stencil in place and keep it from moving while you are working on it.
TIP: Use as light pressure as possible when working the ink on the sponge. Remember - you can always add more to darken your work but if its too dark there will be no way to lighten it. So go slow and keep building up slowly.

Be careful not to ink over the main part of your card or project. Once you are ready lift up the stencil.
TIP: Don't forget to clean your stencil.

And there you have it. The background is ready and you can decorate the card any way you choose.
Comments
Post a Comment