
Materials you’ll need:
* A slotted quilling tool
* 5mm red quilling strips
Mine measured 42cms and I used 3 strips of red for the body
* 5mm black quilling strips
Mine measured 42cms again and I used just 1 for the head.
* Clear drying white PVA glue
* Quilling mould
(Good stationeries will carry these. And you can always find them on Amazon as well.)
* Black and white pens or acrylic paint & a fine paintbrush
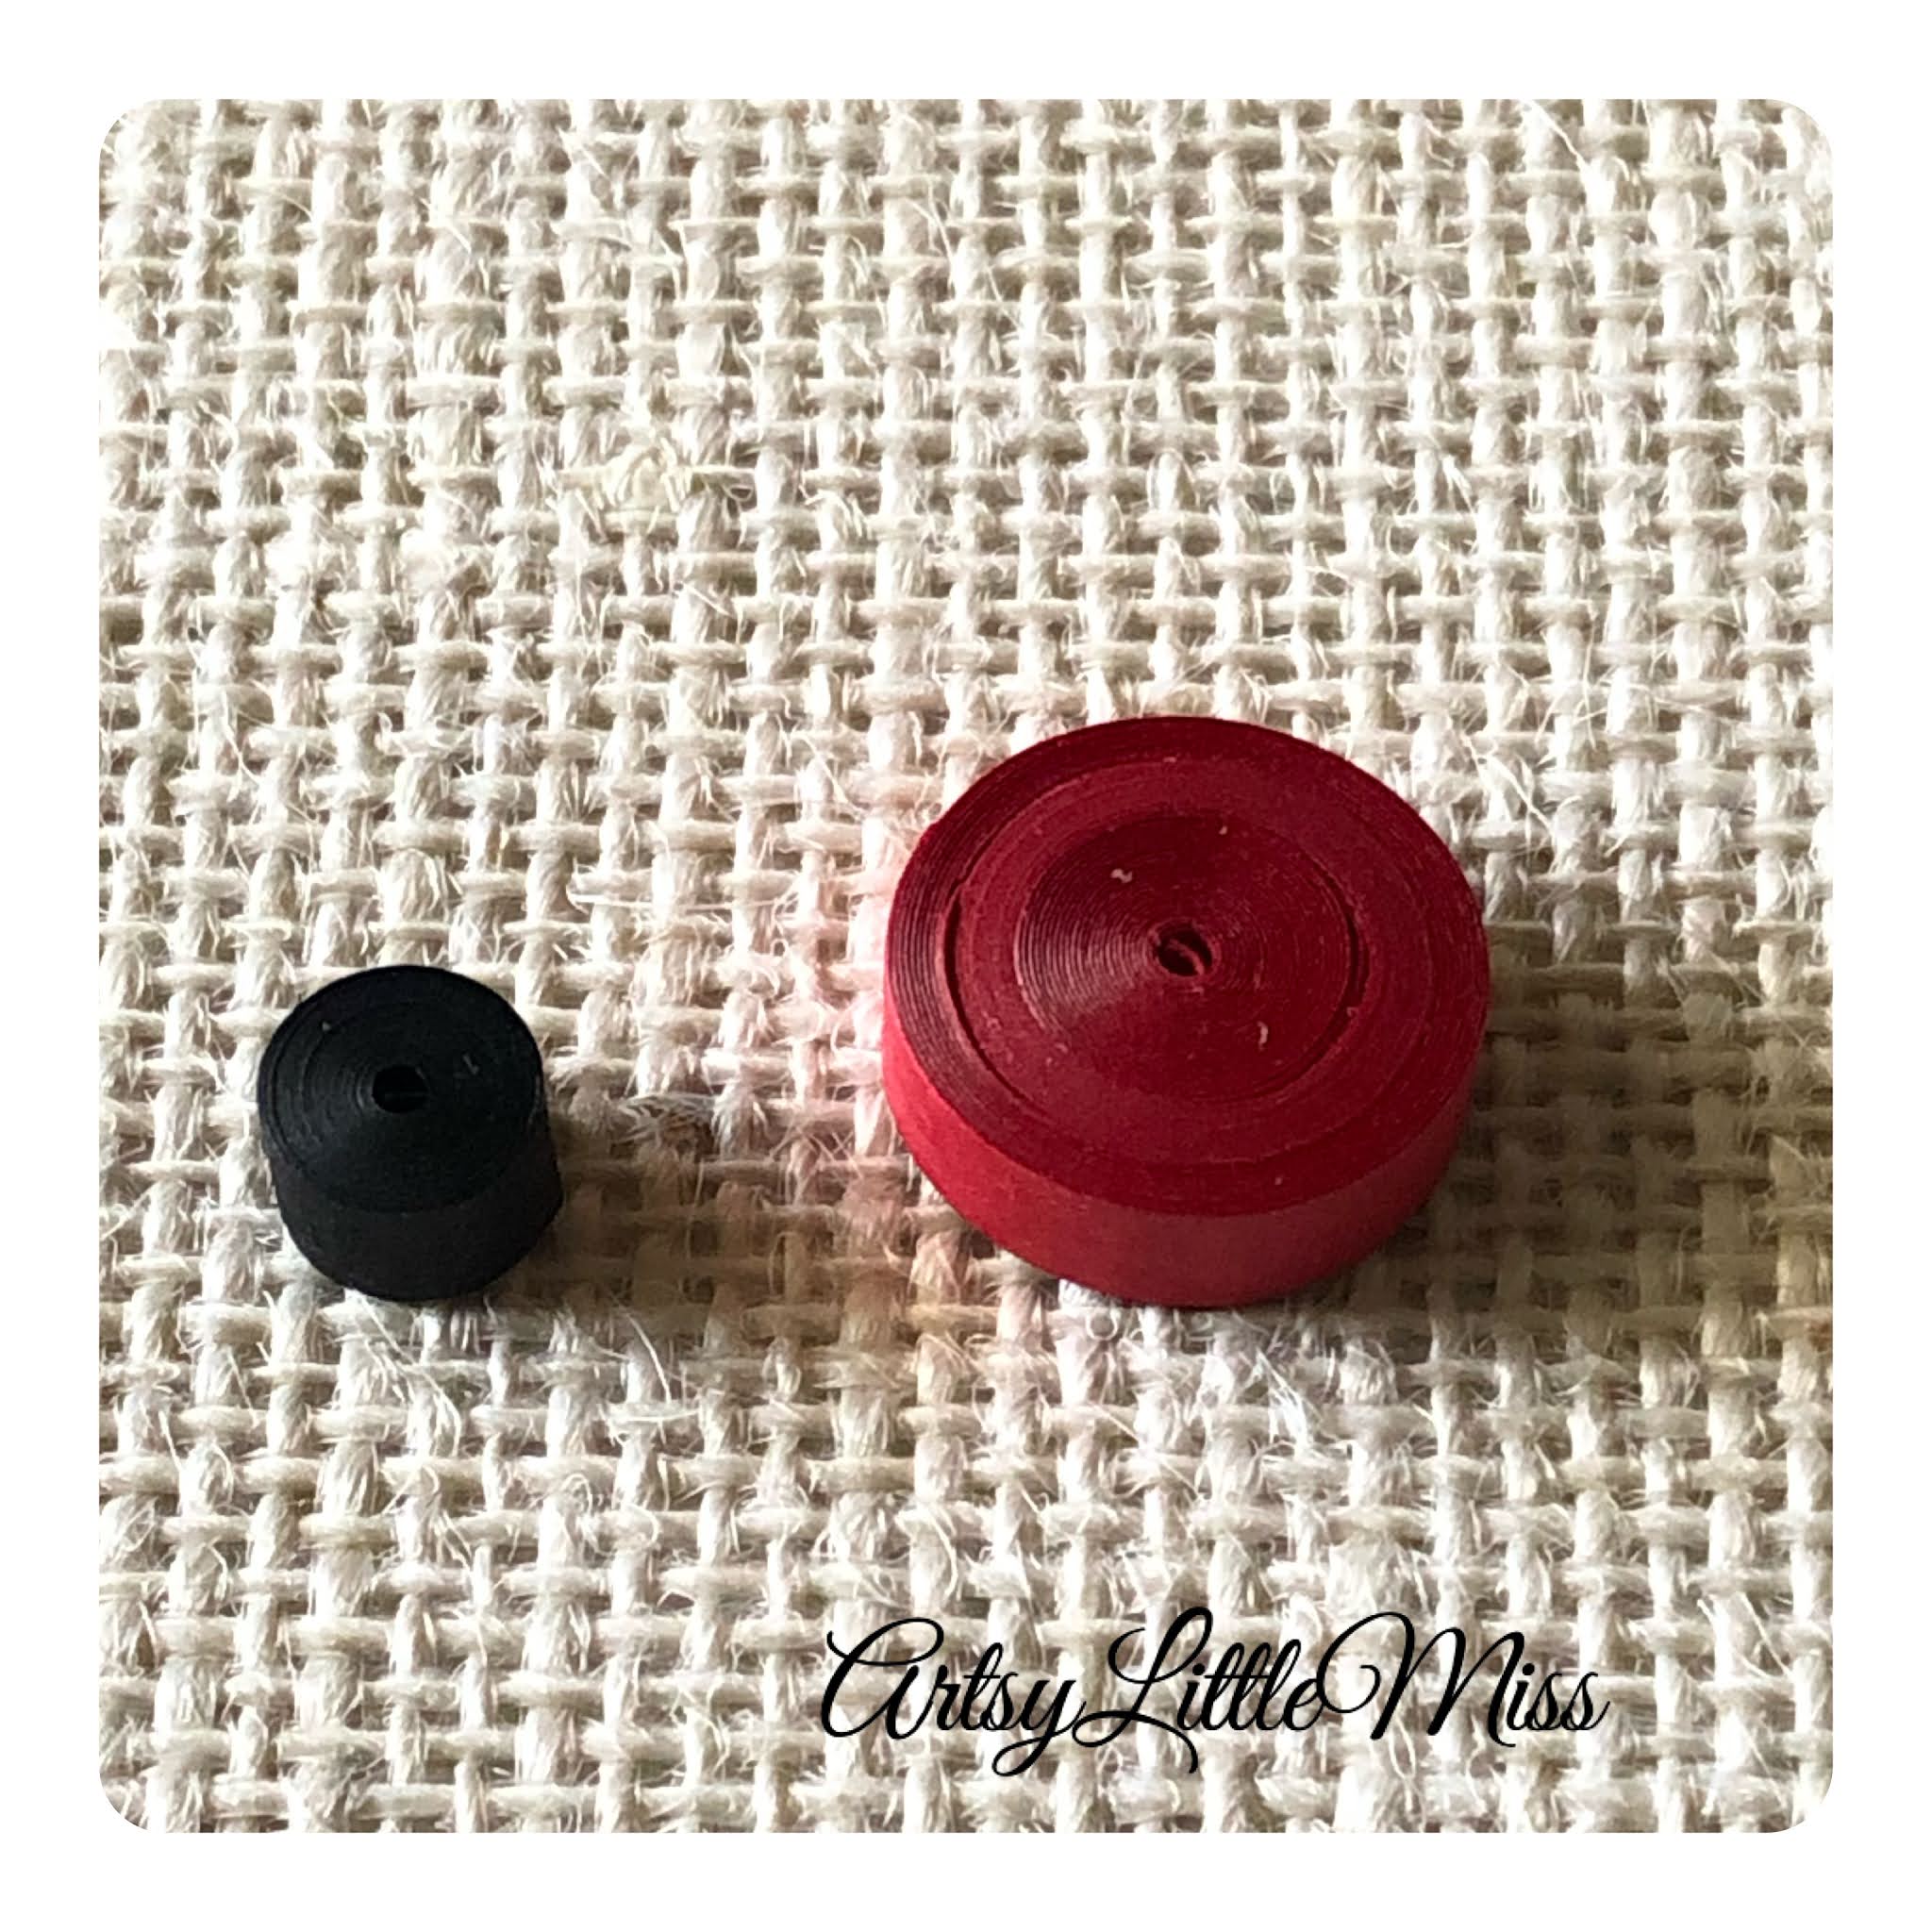
To begin, join the red strips together to form one long strip and roll it into a tight coil or peg.
This will form the body.
Do the same with the black strip to form the head.

On your quilling mould find the ‘mound’ closest in size to your peg.
In my case, it’s the one labelled ‘B’

Place the tight coil on top of the mound and gently press down the sides so that is gets it’s dome shape.

Gently lift it off the mould and you should be left with this dome shape.
Be gentle and careful at this point because you can flatten it back into a peg very easily.

Add a small dab of clear drying glue to the inside of the dome.

And spread it around with the glue nozzle or an old paintbrush or even a toothpick.

Repeat the same steps with the red tight coil.
Find the mound closest to its size.

Gently push down on its sides to get that domed
shape.

I wanted the Center to be raised a little more so I re-domed it for a second time on a little smaller mound.

Like before, add glue to the inside of the dome and allow it to dry completely.
This layer of glue will strengthen the dome and keep its shape.

Once dried completely you can see how the two shapes come together to form a little ladybug.

Paint tiny eyes onto the head and the spots onto the ladybug’s body.

Join the head and body with a little bit of glue. Allow it to dry and your ladybug is ready.
Hope you enjoyed this little tutorial. Tag me in your ladybug makes on Instagram @ArtsyLittleMiss and I just might share them to my stories.
Comments
Post a Comment