
The most simplest forms of quilling is the ‘Tight Coil’ or the ‘Peg’
And while it’s the simplest and easiest, there’s still so much you can do with it. You can go really really simple with a flower, or a little more creative like this whale here.

The tools you will need are:
* Slotted quilling tool
* Clear drying white PVA glue
* Quilling strips

Before we begin quilling, observe your paper strip. It will have one rough edge side ☝🏼
and one smooth 👇🏼

This is the same for all paper strips - whether they are ready made, pre-cut strips or whether you have measured and cut them out yourself.

Next we’re going to break up the fibre of the paper a bit so that it gives a nice smooth finish when it’s rolled.
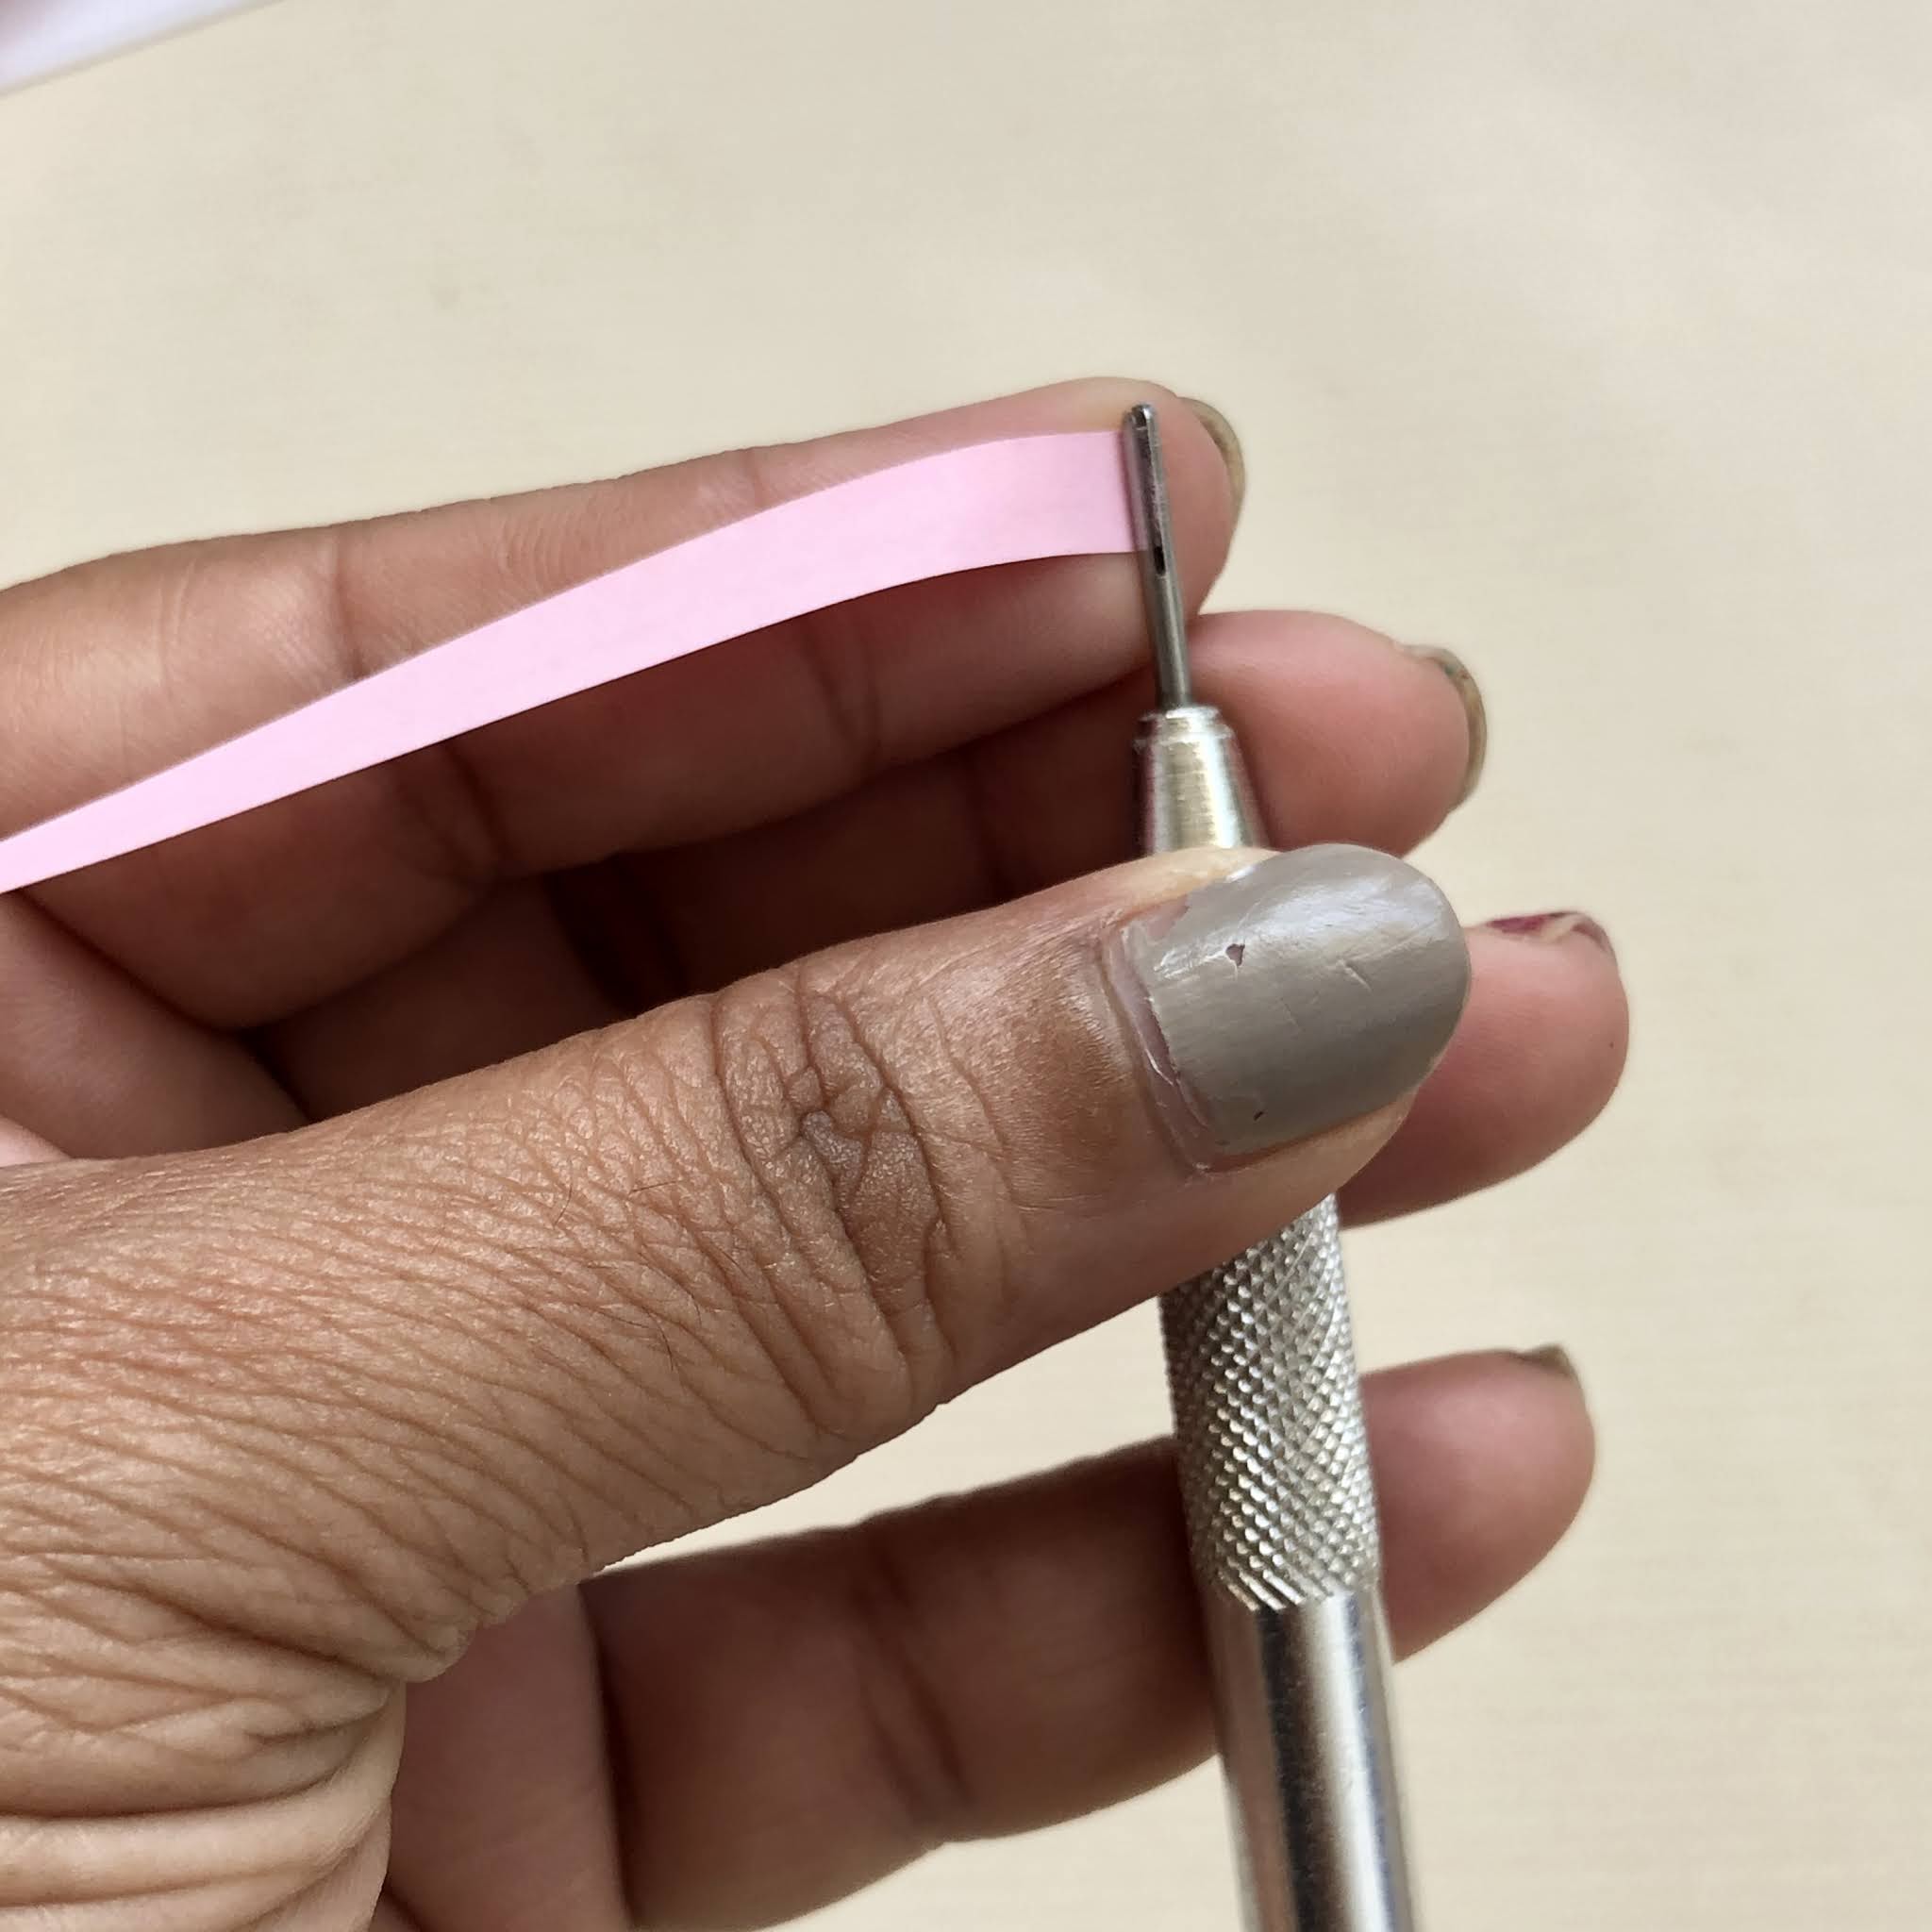
To do this you’re just going to hold the centre of the strip between the tool and your thumb (gently - we don’t want to rip the paper) and just slide it out. Repeat the same on the other half.
Your quilling strip should now have a gentle coil to it.
Insert the quilling strip into the slot of the slotted tool.
Make sure it isn’t sticking out the other end. And begin rolling.
Do not pull at the other end of your strip.

Once you’ve reached the end of your strip, apply a tiny bit of glue and hold the end in place so that it sticks and dries. 👇🏼


Do not hold the coil by the edges and lift up to take it off the tool.
Instead, place your thumb or fore finger at the base of the coil for support and gently lift it off the tool.
This way lessens the formation of quilled ‘tornados’ when you coil too tightly.

You may have a very ‘bumpy’ coil.. so just place it on a flat, firm surface and press gently with your finger. Repeat on the other side.

And your tight coils or pegs are ready.
☝🏼Is my very simple flower.
Hope you enjoyed this little tutorial. Please tag me in your art on Instagram if you’ve used my tutorial ( you can find me @ArtsyLittleMiss) and I will share to my stories.
Karen.
Comments
Post a Comment